> Markdown version of https://www.asyncapi.com/blog/event-driven-api-documentation-made-simple-clientside-rendering
> Index: https://www.asyncapi.com/llms.txt
# Event driven API documentation made simple (Client-Side Rendering).
> This post originally appeared on [Michal's Corner](https://michals-corner.vercel.app/blog/event-driven-documentation)
This guide is directed toward folks seeking instructions on generating documentation using their AsyncAPI files. Event-driven APIs are not the same as the synchronous APIs you usually document with OpenAPI or GraphQL. Many people use AsyncAPI now, and it is time to provide the community with a guide that shows what options the community has to render documentation on the client side.
Oh, if you are still not sure about client or server side rendering, then you can read all about it here [Website rendering for beginners](https://michals-corner.vercel.app/blog/website-rendering-for-beginners) (shameless plug ).
I will cover the usage for:
- [React](#react)
- [Vue](#vue)
- [Web Components](#wc)
- [Standalone Bundle](#sb)
The AsyncAPI sample file 👇 is used as JSON to make it easier to use on the JS side.
All examples will use this same sample.
```json
{
"asyncapi": "2.4.0",
"info": {
"title": "Account Service",
"version": "1.0.0",
"description": "This service is in charge of processing user signups"
},
"channels": {
"user/signedup": {
"subscribe": {
"message": {
"$ref": "#/components/messages/UserSignedUp"
}
}
}
},
"components": {
"messages": {
"UserSignedUp": {
"payload": {
"type": "object",
"properties": {
"displayName": {
"type": "string",
"description": "Name of the user"
},
"email": {
"type": "string",
"format": "email",
"description": "Email of the user"
}
}
}
}
}
}
}
```
This is the expected look of the generated document 👇
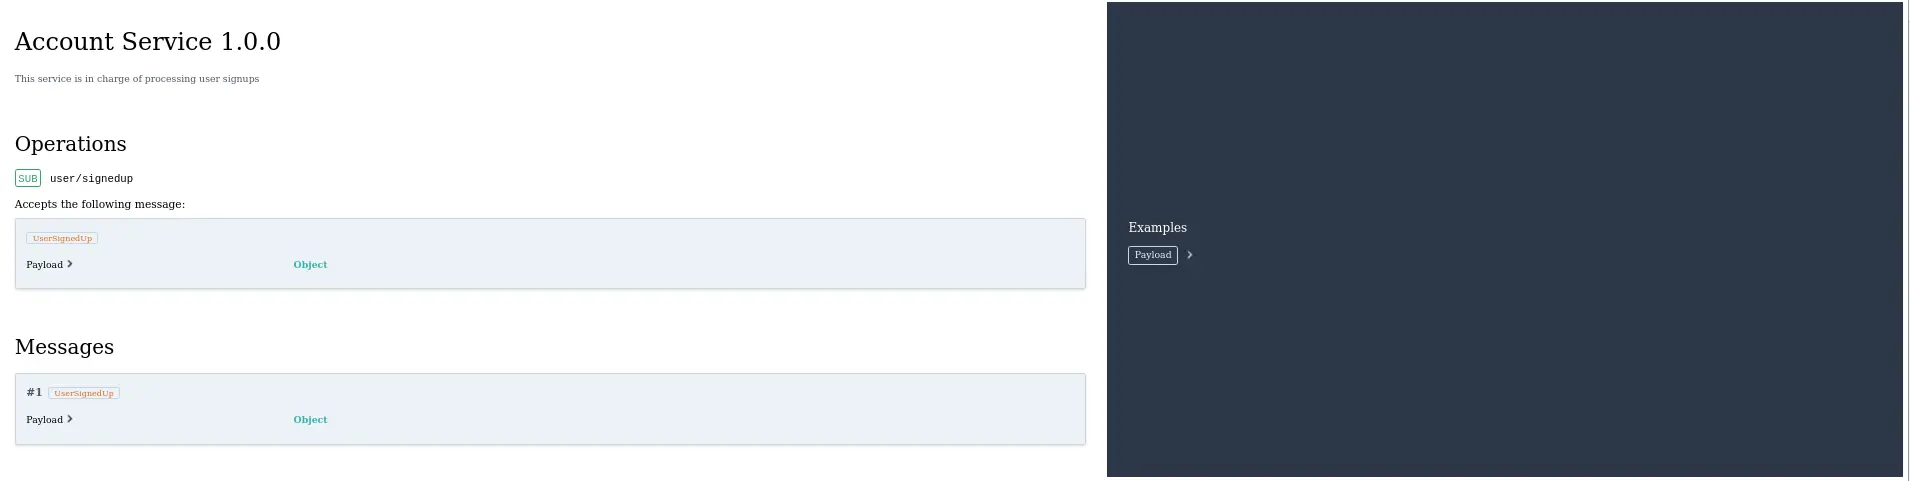
All usage examples from this article are available to check on the [asyncapi-docs-rendering-examples](https://github.com/m1ner79/asyncapi-docs-rendering-examples) repository.
---
### React
If you wish to render documentation from your AsyncAPI file in React application, then you need to use the [AsyncAPI React component](https://github.com/asyncapi/asyncapi-react).
1️⃣ To install the **React AsyncAPI component** run the command:
```bash
npm install --save @asyncapi/react-component@next
```
2️⃣ Now, create a **index.js** file and type the following:
```js
import React from "react";
import ReactDOM from "react-dom";
import AsyncApiComponent from "@asyncapi/react-component";
import "@asyncapi/react-component/styles/default.min.css";
import { specMock } from "./testDoc";
const rootElement = document.getElementById("root");
ReactDOM.render(, rootElement);
```
Here we can see that the **React AsyncAPI component** is imported on **line 4**.
If you are happy with AsyncAPI styling then you need to import their CSS pattern with:
```js
import "@asyncapi/react-component/styles/default.min.css";
```
**Line 7** is where the sample AsyncAPI file is imported.
---
### Vue
If you wish to generate documentation from your AsyncAPI file in a Vue application, you need to use the [AsyncApiStandalone bundle](https://github.com/asyncapi/asyncapi-react/blob/next/docs/usage/vue.md).
The given instructions are for Vue 2.x.
1️⃣ The React AsyncAPI component is also required here, so you need to run the command:
```bash
npm install --save @asyncapi/react-component@next
```
2️⃣ In your **App.vue** just add this code:
```vue
```
As you can see on **line 6**, you need to import the **AsyncApiStandalone** bundle with command
```js
import AsyncApiStandalone from '@asyncapi/react-component/browser/standalone';
```
3️⃣ If you like AsyncAPI styling, then there is one more thing to do. You can do it in few ways:
◾ First way; you need to go to 👉 `node_modules/@asyncapi/react-component/style/default.min.css`.
Copy that file and then paste it into your _**assets**_ folder.
I renamed mine **asyncapi.min.css**.
Then, you can import this in your **main.js** file with
```js
import './assets/asyncapi.min.css'
```
You can also import it at the end of the **App.vue** file with:
```Vue
```
Second way; import styles from `@asyncapi/react-component` package:
```Vue
```
---
### Web Components
To generate documentation from your AsyncAPI file, you can use it as an element of an HTML webpage or as a web component in any other web framework you choose. You can do this by using [web-react-components](https://github.com/asyncapi/asyncapi-react/blob/next/docs/usage/web-component.md).
1️⃣ Just create an **.html** file, then copy and paste this code:
```html
```
2️⃣ If you need support for old browsers then you need to add this script as well:
```html
```
That is it! 🤯 Just awesome!
---
### Standalone Bundle
If you want to render documentation from your AsyncAPI file without the use of any framework but with just an HTML webpage then you will need the [Standalone bundle](https://github.com/asyncapi/asyncapi-react/blob/next/docs/usage/standalone-bundle.md).
1️⃣ All you need is just a basic HTML template.
2️⃣ To get AsyncAPI document styling, in the **head** element enter:
```html
```
3️⃣ In the **body** element type the following:
```html
```
This fetches everything required from the bundle
```html
```
There is one more way to configure the AsyncAPI component.
You can do it through **config** props; the same as for the normal React component.
My **Web Component** and **Standalone Bundle** usage examples have
```js
config='{"show": {"sidebar": true}}'
```
which turns on the sidebar, but if you change it to _**false**_ then your rendered document will not have that sidebar. Whatever works best for you.
I almost forgot.
AsyncAPI Standalone Bundle can be used in Angular 2+. Please check the [official docs](https://github.com/asyncapi/asyncapi-react/blob/next/docs/usage/angular.md) if that is something that you may need.
This was only a sample of what could be done. AsyncAPI can do a lot more. Check out the [AsyncAPI documentation](https://www.asyncapi.com/docs/tutorials/getting-started/asyncapi-documents) for more information on how to amend the sample so it will meet your expectations.
I hope you liked this quick guide about the AsyncAPI client side document generation.
Till next time 👋.